Measured Success
Across four decades, CPM’s chief engineer, Jimmie Miller, has had a front-row seat for Charlotte’s rise to international metrology prominence
By Philip Brown
A brief history of metrology — globally and at Charlotte
Scattered across the deserts of ancient Egypt are monolithic pyramids, some having withstood the test of time for nearly 5,000 years. Much is unknown about how these engineering marvels were built, but most historians agree that the ancient Egyptian royal cubit, the earliest attested standard measure, played a significant role. A stone block, the royal cubit is purported to be the length of a pharaoh’s forearm from the elbow to the tip of the middle finger and the width of the palm.
Contrary to the comparatively imprecise span of a cubit depending on who occupied the throne, today’s approach to meticulous manufacturing measurement often operates on a scale of sub-micrometers smaller than 1/1000th the width of a strand of hair. Decisive accuracy — when minute deviations can result in disaster — is critical for much that touches modern life, including air travel safety, vehicle fuel efficiency and cell phone operability.
At the forefront of the role of metrology — the science of measurement — in advanced manufacturing is UNC Charlotte’s Center for Precision Metrology. Established in 1997, CPM focuses on developing and utilizing precise measurement systems to ensure manufactured components meet stringent specifications — and today stands alone as the field’s premier source of academic and research excellence in the Western Hemisphere.
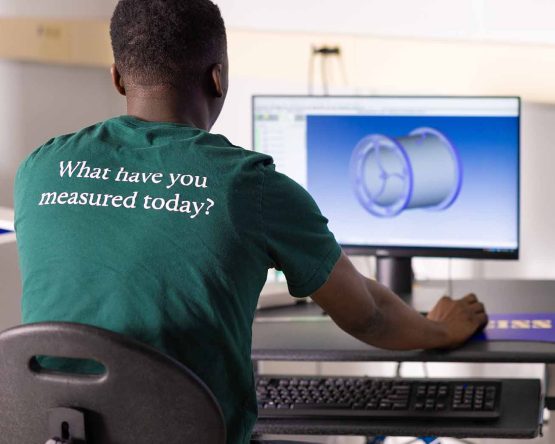
Instrumental to CPM’s prominence and global reputation as its chief engineer Jimmie Miller ’85, ’87 MSE, who at the center’s inception was a graduate student. And throughout the course of a nearly 40-year career at UNC Charlotte — and after completing a doctorate from the University of Warwick in England — has led hundreds of students to metrologic success.
We have facilities that other universities simply do not have. Some technical schools have metrology programs where they train students to use equipment — but the research component is missing. And as one of a few universities that conducts scientific research in metrology, Charlotte offers hands-on experience both in the lab and with cutting-edge equipment that others cannot. Students learn best by doing, not by watching.
Jimmie Miller
Dual roles: student and staffer
Growing up in rural Rowan County, Miller tinkered with electronic and mechanical machines, such as the mowers used to cut grass on his family’s homestead. After completing an associate degree in electronics engineering technology and a stint in private industry, he transitioned to UNC Charlotte to earn bachelor’s degrees in mathematics and physics and then, through a fellowship from the Microelectronics Center of North Carolina, a Master of Science in Engineering.
At the time, Chancellor Jim Woodward was building Charlotte’s academic enterprise to become a doctoral degree-granting institution. Recruiting an internationally known researcher would aid this effort, and Miller recalls engineering faculty involved in the search.
Ultimately, world-renowned physicist Robert Hocken, division chief at the National Institute of Standards and Technology, joined Charlotte in 1988 as the Norvin Kennedy Dickerson Jr. Distinguished Professor of Precision Engineering.
Within the realm of metrology, Hocken, who retired in 2014 as professor emeritus of mechanical engineering, was known universally for his impact. Co-inventor of the original tracking interferometer system, commonly called a laser tracker, he was a leader in engineering metrology, nanotechnology, electro optical instrumentation, atomic force microscopy and optical stethoscopy, and dimensional metrology for computer-aided manufacturing concentrating on advanced probes, controllers and surface measurement systems.
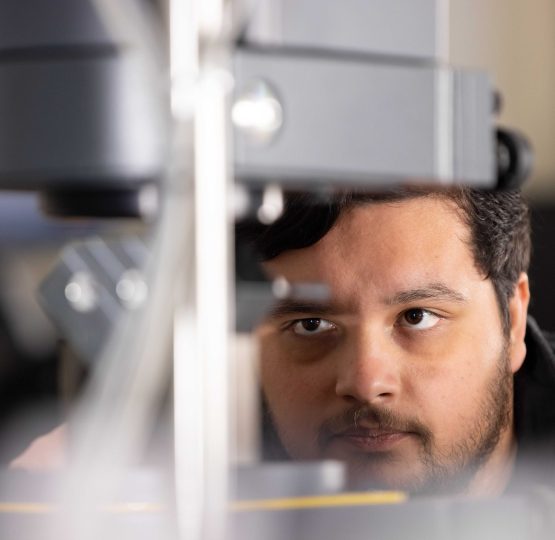
Jorian Khan, a Ph.D. student in mechanical engineering, uses a Fizeau interferometer to measure the surface of a part.
Miller, working as a staff member setting up equipment in engineering research laboratories, credits the late Hocken with changing his academic and professional fortunes.
“Without Bob Hocken, I never would have pursued my Ph.D., and likely would have gravitated toward an industry job,” he said.
Hocken arranged for Miller to enroll at the University of Warwick to complete a doctorate while conducting dissertation research at Charlotte, and in 1994, he was hooded during commencement. Hocken had grant funding from the National Science Foundation to use a scanning tunneling microscope to study nanotechnology. It was the basis of Miller’s Ph.D. investigation for which he built a scanning tunneling system to attach to an X-ray interferometer to examine tunneling currents, or how electrons move through a barrier.
“Additionally, we wanted to see if it was possible to create nano-memory as part of a strategic manufacturing initiative and to understand how dense to make memory bit structures,” Miller said. “We explored using voltage pulses at small levels to manipulate their nanometer features.”
Building a world-class metrology center
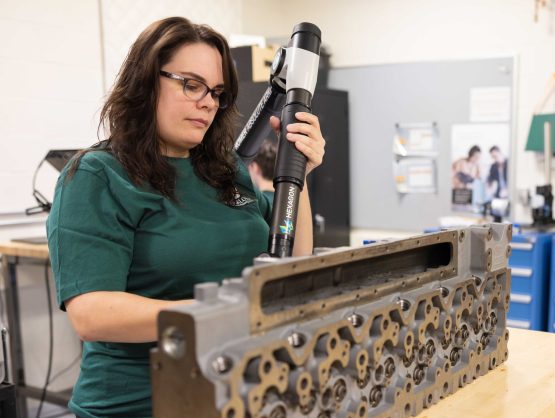
Senior mechanical engineering major Amanda Shaw uses an articulated CMM to measure an automotive component.
Hocken’s reputation helped attract backing for the fledgling precision metrology program, including for it to become an NSF Industry/University Cooperative Research Center. Additional funding allowed the University to add to its research equipment inventory. Early projects focused on enhancing coordinate measuring machines, which measure the geometry of physical objects; the mechanics of nano cutting, an ultraprecise machining method for accuracy at the nanometric scale; and developing components for extreme ultraviolet measurement for the semiconductor industry. Miller had a role in purchasing the equipment, which was housed primarily in the basements of Cameron and Smith buildings.
“In 1993, as I was completing my Ph.D., the program needed a staff engineer, so I approached Bob about the job. If I agreed to commit five years, the position was mine; I’m still with the center 30 years later.”
By 1997, the UNC System Board of Governors authorized the formal establishment of the Center for Precision Metrology at UNC Charlotte. Funding came from federal and state grants, institutional resources and industry partners.
“The success of our corporate affiliates program, with 11 partners today, dates to CPM’s establishment,” said Miller. “Bob’s experience drafting national metrology standards was the original magnet for companies interested in affiliating with the center.”
Now housed in Duke Centennial Hall, CPM’s state-of-the-art facilities support a mission to break new ground in precision metrology by addressing real-world industrial concerns — and to recruit world-class faculty, industry affiliates and students.
The Charlotte difference
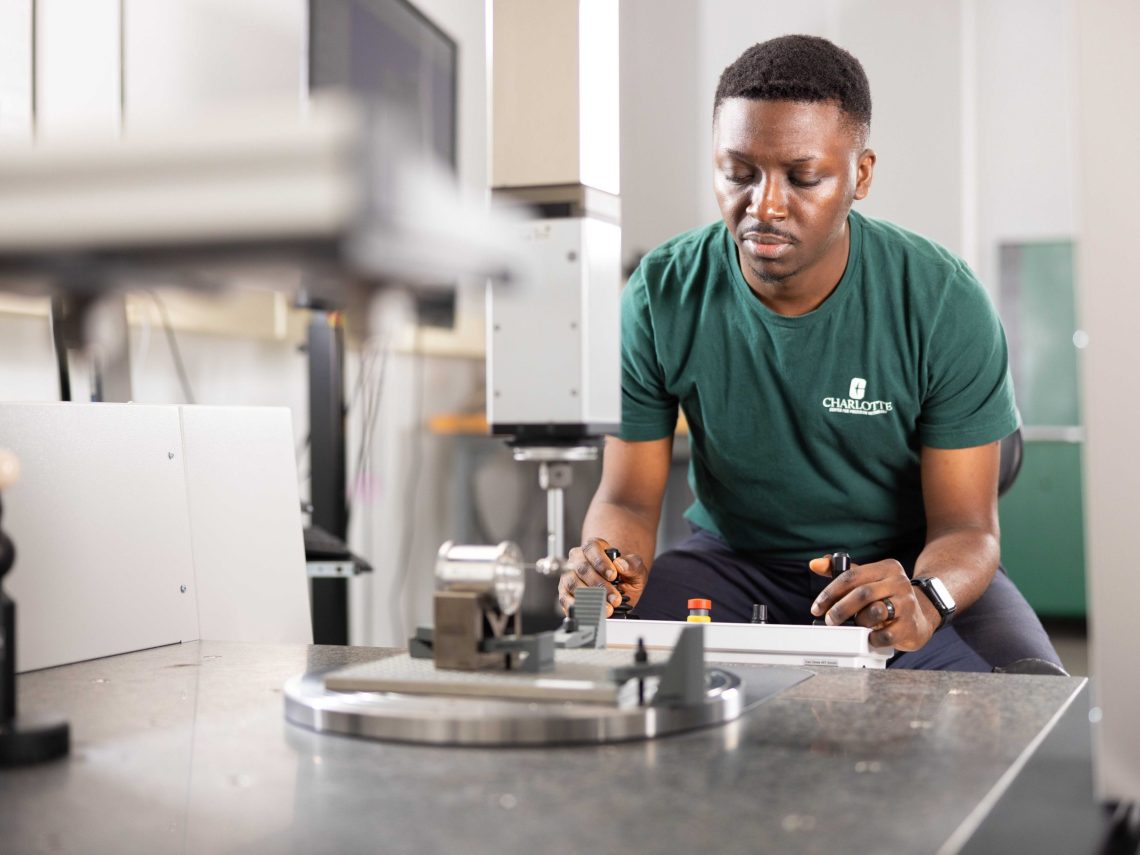
Adeniyi Adeleke, a winner of a scholarship contest sponsored by Zeiss, uses a coordinate measuring machine to measure a part’s feature.
The relationships Miller builds with students is among his strengths, according to Ed Morse, CPM director. “Jimmie provides mentoring that complements the work of students’ academic advisors and makes an impact on their careers,” said Morse. “He possesses a wealth of knowledge about machines, instruments and instrument design that not only supports our research activities and experiments but also provides useful insights that make the work of the center more effective. Jimmie truly represents the Center for Precision Metrology’s living history.”
Miller also cites the corporate affiliate program as a key differentiator for student experience and success. Through it, students have opportunities to help solve real problems that industry partners bring to the center. Their involvement is regarded by the companies as a value-added benefit.
Now a chief engineer, Miller wears many hats: mentor, facility supervisor, instructor and project coordinator. Every day presents new opportunities as the center continues to excel. Following the legacy of Hocken, who often used his endowment to fund seed projects for junior faculty, Miller aims to be a resource, willing to share his expertise
“Whether it's students, faculty or industry partners, I’m here to enable others to flourish and succeed,” said Miller.
Phillip Brown is assistant director of strategic content in the Office of University Communications and editor of UNC Charlotte Magazine.

CPM Director: Ed Morse
“UNC Charlotte is the only university in North and South America with a program dedicated to dimensional metrology. This is a complicated and rapidly changing field because new metrology needs arise every time a new manufacturing process develops.
“For instance, in the last decade, 3-D printing has become very popular. Now, in a single process, you can make objects that have internal features, which you couldn't manufacture by conventional methods. But you still must have measurement techniques for these internal features, which involves using X-rays.
“This is just one example of what the Center for Precision Metrology can do. Big aerospace companies are always looking for ways to speed up their measurement processes, because they are measuring huge components that need to fit together the first time. For them, a scrap part is very expensive — we help them avoid that extra expense,” said Morse, who chairs a national standards committee for the American Society of Mechanical Engineers. Several center faculty members serve in similar leadership roles that develop performance tests and standards to provide the manufacturing industry a shared model for requirements.

CPM Partner: Cummins
“Quality is the cornerstone of manufacturing, and quality engineering has a place across the entire product life cycle. Cummins has hired more than a dozen graduates from Charlotte's Center for Precision Metrology, and the company has gained significant value from access to students and staff who have provided their technical expertise to help solve several complex measurement science problems,” said Steven Stahley, director of measurement excellence for Cummins, which specializes in diesel and alternative fuel engines and generators.
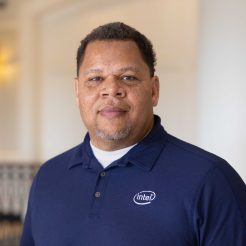
CPM Partner: Intel
“My team ensures incoming quality of piece parts from suppliers around the world. As our partner, the Center for Precision Metrology has the technical depth to support evaluation and qualification of new technologies and techniques. We have been able to evaluate and demonstrate new technologies in Charlotte's labs and corporate environments before proliferating them globally.
“Intel has hired many CPM graduates during my 20-plus years with the company. Undergraduate students who have precision engineering and metrology concentrations will be valuable to entering manufacturing spaces. Their understanding of dimensional tolerances and interaction with equipment performance can help to resolve exclusionary events quickly in a well-structured and data-driven way,” said Osborne Martin ’99 MSE, ’03 Ph.D., who is a principal engineer and director with Intel.
CPM Partner: Boeing
“Boeing joined CPM’s Affiliates Program because of its commitment to excellence, cutting-edge research and the opportunity to work with bright young students.
“Boeing has found the center faculty and students far exceed expectations. They delve into problems and make amazing progress in a short time. Precision metrology will continue to grow as a needed skill as increasing numbers of manufacturing processes are using it to improve their capabilities.
“CPM graduates will find rewarding careers in manufacturing, allowing them to be involved from fabrication to assembly and onto sustainment, which means they will get to be part of the entire life cycle of products,” said Chris Greer, lead engineer and associate technical fellow for measurement and technology at Boeing.
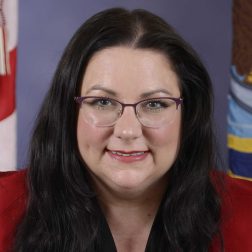
CPM Partner: Naval Air Systems Command
“Being a part of the Center for Precision Metrology was life-changing, having a positive impact on my career path and success. Metrology is important in all types of manufacturing. Specifically, it is critical to the development of military defense systems. As technology advances, measurement science must validate that new equipment and systems meet their performance standards throughout their life cycles.
“I started my career with the Navy as a civilian in NAVAIR's Metrology and Calibration Program. Now, 13 years later, I am the deputy chief engineer of that program, and I still love what I do. I know that my work matters, because it contributes to ensuring the safety of people,” said Tiffany Lemmons ’07, ’12 MSE, deputy chief engineer for the Metrology and Calibration Program at Naval Air Systems Command, which provides materiel support for aircraft and airborne weapon systems for the U.S. Navy.